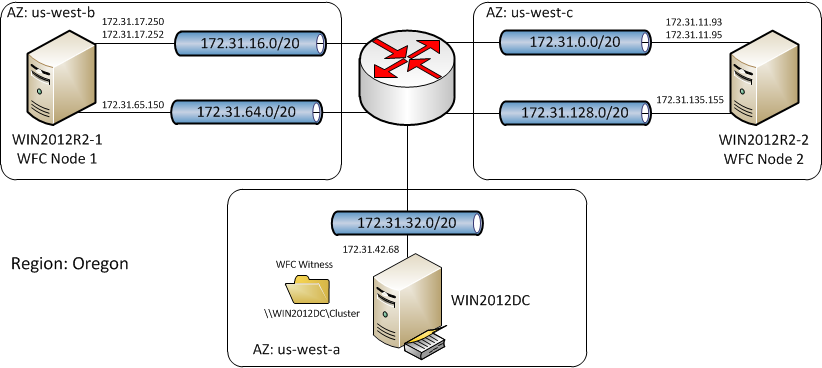
In Part 2 we have finished configuring Windows Failover Cluster. By now our network looks like this:
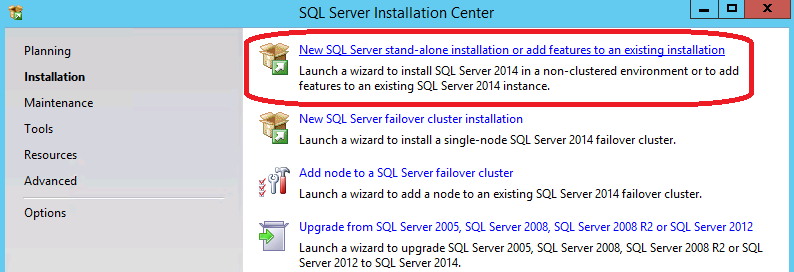
 Now we are ready to deploy SQL Server components. For the AlwaysOn we need a standalone SQL server installlation type [we do not need to install a SQL Server failover cluster]:
I’m going to skip installation steps as these are quite straightforward [just install major components] and rather focus on preparing SQL for AlwaysOn. Just gonna mention here that service account is CONTOSO\svcsql.
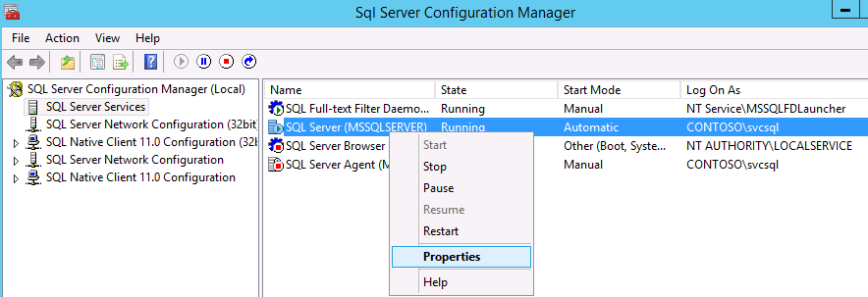
Asuming standalone SQL server is installed on each of the nodes, next we need to activate AlwaysOn functionality on each of the nodes. For that run “SQL Server Configuration Manager”, select “SQL Server Services” and then open “SQL Server” service properties:
 Open “AlwaysOn High Availabilty” tab and tick “Enable AlwaysOn Availability Groups”:
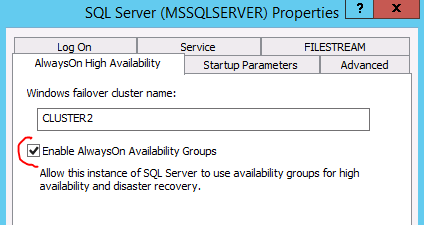 Cluster name will be popoulated automatically because it’s already installed.
SQL Server services will be restarted. Do not forget to repeat this on the other node.
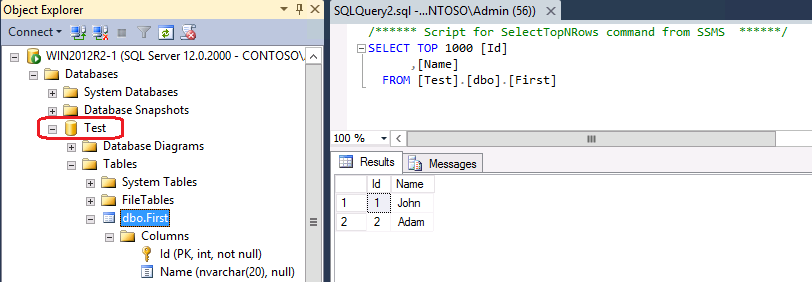
Now, lets create a small database to work with. On WIN2012R2-1 I’ve created the following simple database with just one tiny table:
 Make sure it’s Recovery Model is set to “Full”:
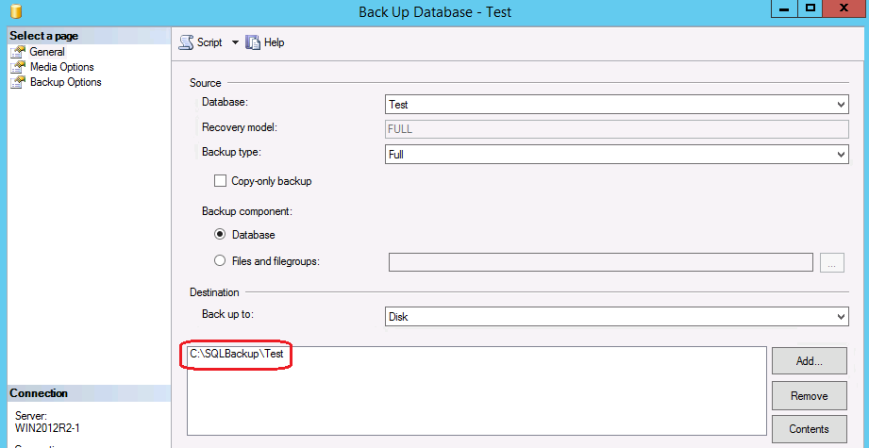
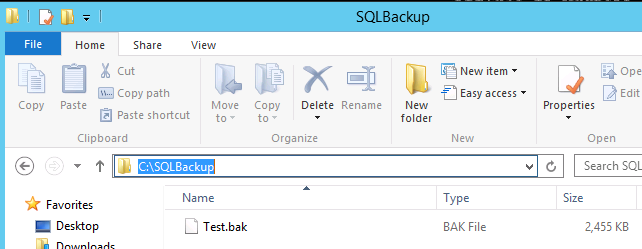
 Lets make a Full database backup to some local folder [C:\SQLBackup in my case]:
 AlwaysOn will be using a shared folder to synchronize database accross cluster nodes belonging to the same Availability Group. Lets create one called “C:\Replica” on the DC:
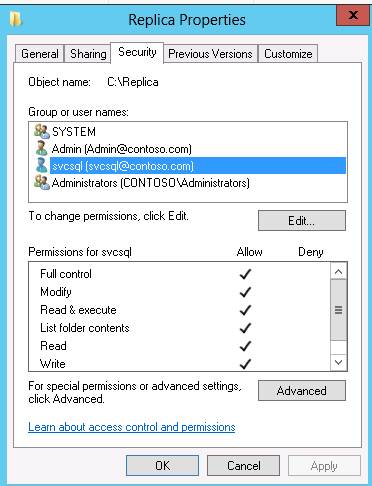
 SQL Server service account [contoso\svcsql in my case] needs to have Read/Write NTFS permissions on that shared folder:
 OK, at this point we are ready to configure AlwaysOn, finally :). See you in Part 4.